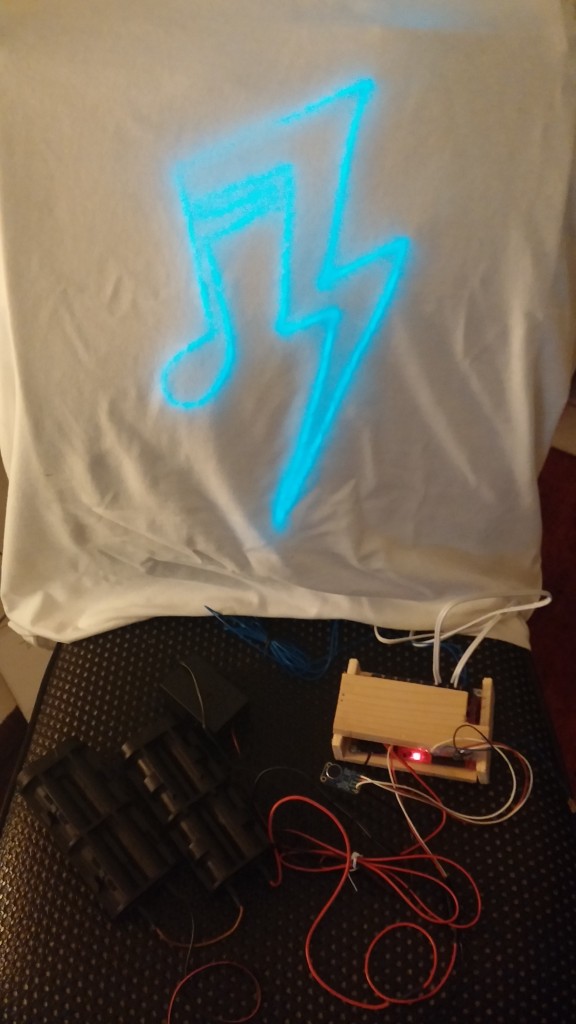
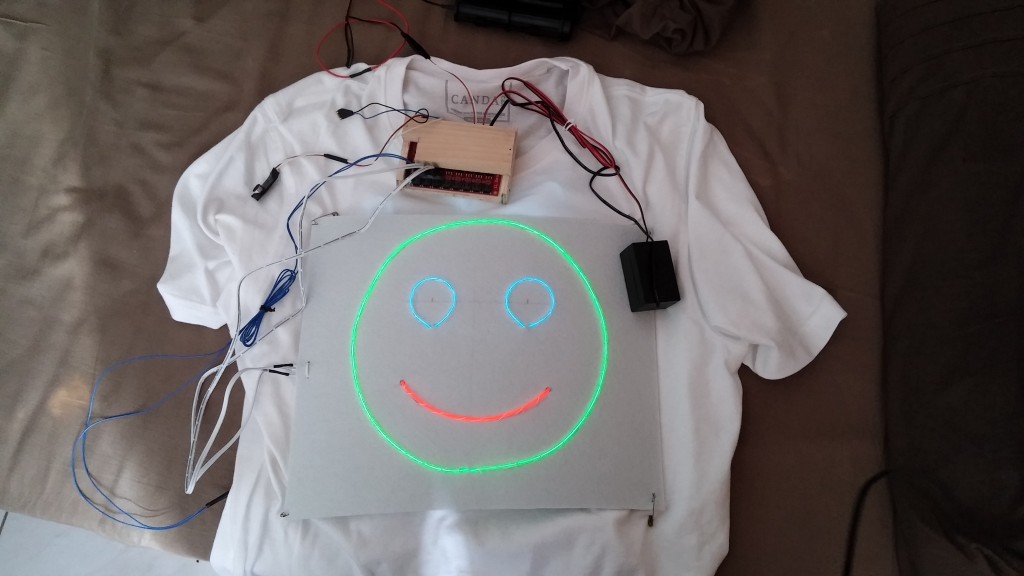
Here is a brief description of how I built my EL-wire T-shirt and some principles behind it.
Some hardware :
To build this, I needed :
–two simple white T-shirts
–EL-wire
Depending on the length of EL-wire we need, we have to choose between two power inverters. If I had used less than 3 meters of wire, I would have chosen a 3V inverter. As I planned to use more, I chose a 12V inverter.
-so a 12V inverter
–12V batteries, I chose 8 NiMH AA type batteries of 1.2V each. It’s not exactly 12V but it’s sufficient.
–some electronics (EL Sequencer with an integrated microcontroller to analyse the microphone and drive the lights
–a microphone (mine is cool, it has automatic gain)
–a small switch
–felt sheets approximately the color of the T-shirt to be able to sew logos on it (the T-shirt would not be resistant enough.
I needed also small supplies, solder iron, tools, wood,…
There are many ways to start but the most important is understanding how EL-wire works.
So what is EL-wire ?
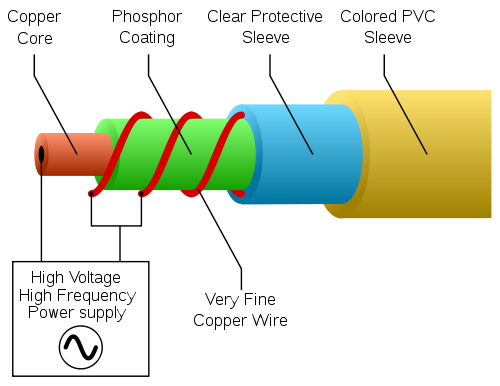
It looks like this :
There are several layers and in the center a copper wire with phosphorus around it. Two very small wires are coiled around the phosphorus layer. Between the copper wire and the very small wires you apply a 100V tension at the order of magnitude of the kHz. This charge-discharge of the coaxial condenser formed by the wires can excite the phosphorus and make it glow. Then, the last layer gives color to the emitted light.
Begin of the making
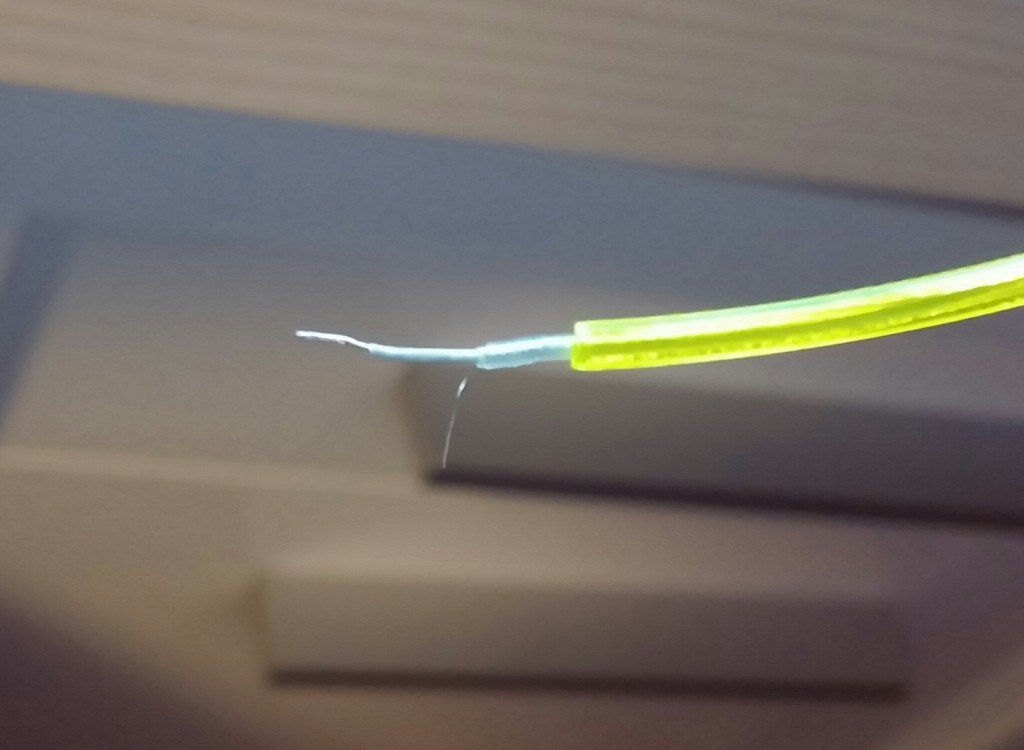
EL-wire comes without electrical connexions and can be cut where you want. But each time you cut it, you have to connect it to the power source. That’s one of the hardest part of the project, you have to denude very small wire, solder them without breaking them, put shrink tubing around them to secure them,… I won’t get into details, someone explains it better than me. Actually I have red different tutorials on Instructables to make my own procedure to solder EL-Wire.
When the wire is connected, you can plug it on an output port of the EL-Sequencer. There are nice male plugs on the board but I haven’t any corresponding female lying around so I made myself connectors on the board. You can also solder the wires directly on the board.
The battery connector goes on DC IN, the inverter goes on DC OUT and AC IN. I put a plug on DC IN to be able to turn everything off easily.
If everything is well done we can power it on and with the default program loaded on the microcontroller the wire should blink. We’ll see later how I programmed it.
let’s sew the wire
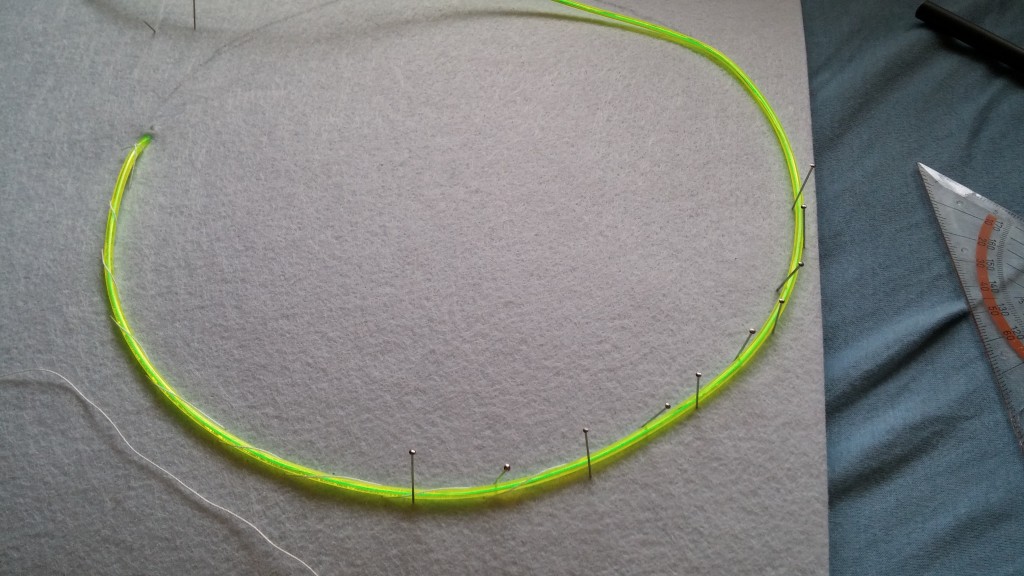
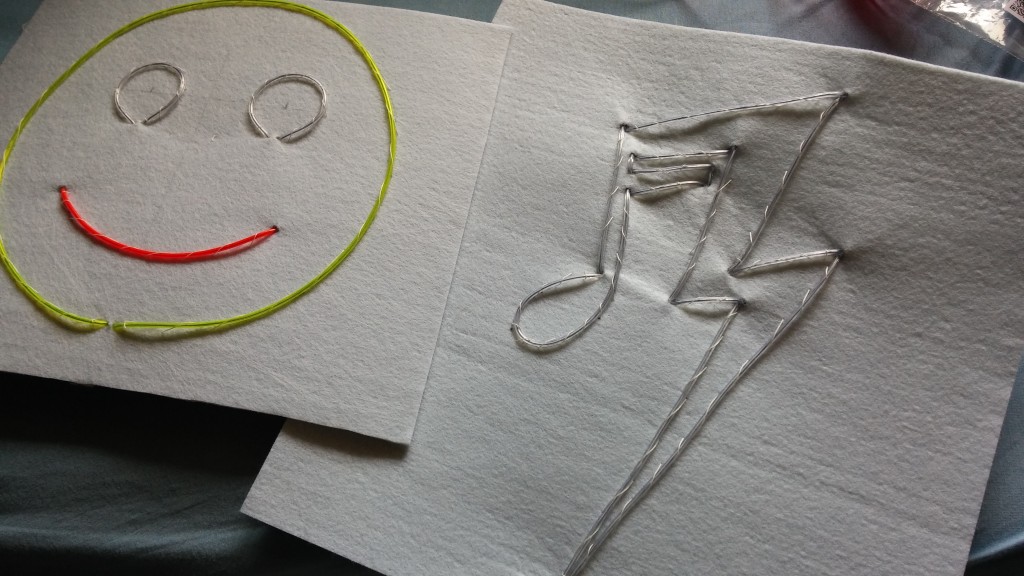
I drew my pattern on the felt and then sewed it to give the shape to the wire. I made holes to pass the wire at the beginning and at the end. As the EL-wire is very hard to solder, I tried to minimize th number of times I cut it. I also simplified the patters I wanted to draw.
Another idea is to hide the wire behind the felt in the places you want to hide it. As an example, on my smiley, I used one segment to make both eyes.
If there’s a corner or a sharp edge to draw, make a hole in the felt, and do the turn behind the felt before going out of the hole in another direction.
Some more electronics
One could plug directly the EL-wire into the inverter and poser supply, but I wanted something more fun. My idea is to make it react to ambiant music. Most of the time, people make an analog or digital circuit that listen to the ambiant volume and triggers the lights at a certain level. So you are constantly trimming a potentiometer trying to find the correct position. The results are not amazing. What I want to do is detect the rythm and the best way to achieve that is by following the bass.
In many engineering domains, analyzing frequencies is very important. It’s often achieved by applying the Fourier Transform Theory. It’s very powerful but the mathematical description of it need integrals, complex calculus and only works for perfect signals. I’m in the real world, and my microcontroller doesn’t know how to evaluate complex integrals. Hopefully, there’s an applied version of this theory called Fast Fourier Transform (FFT) that is a very well known method to do an analysis like that with a computer. Still, it requires some calculating power that my microcontroller doesn’t have. There is someone, on his website, that explain well this theory and how to apply it on microcontrollers. He is so kind that he doesn’t give his source code so I had to find another way. I found another algorythm called the Fast Hartley Transform (FHT) that is simple to use and works well too.
I copied the example code of the library I found and began playing with it to make the lights blink according to the levels of certain frequencies and I was done. I tested it at home, it worked well. Oh, wait, what if in a loud music environment id doens’t work ? Let’s find a plan B.
Surviving in the real world
So as I will use this in an environment with loud music, crowd, drunk people pushing everywhere,… i need to make my T-shirt (and the electronics inside) solid enough.
As I was not entirely sure the microphone would work in very loud music environment I programmed a plan B on the microcontroller using a switch. With that switch I can run the T-shirt in a sequence mode with random patterns. Otherwise it runs in sound mode. It turned out that even if sometimes the microphone was saturated, overall it worked well all the evening.
The electronics is put into a small wood box to protect it from impacts. All the wire soldered on the board are hot glued around the solder point to reduce damages on them. Everything is placed in a small bag at the belt in front of me under the T-shirt.
This is a video proof of concept of my T-shirt :
The source code of my T-shirt
#define LOG_OUT 1 // use the log output function
#define FHT_N 256 // set to 256 point fht

//A,B et C sont 3 ports du EL-Sequencer
//A est le logo Balélec dans le dos
//B est le cercle autour du smiley
//C est le visage
#define allumeA digitalWrite(2,HIGH);
#define allumeB digitalWrite(3,HIGH);
#define allumeC digitalWrite(4,HIGH);
#define eteintA digitalWrite(2,LOW);
#define eteintB digitalWrite(3,LOW);
#define eteintC digitalWrite(4,LOW);

#include FHT.h
int pin = A3;
int activeSequence = 0;

void setup() {
  pinMode(2,OUTPUT);
  pinMode(3,OUTPUT);
  pinMode(4,OUTPUT);
  eteintA; eteintB; eteintC;
  //résistance pullup improvisée sur port analogique
  digitalWrite(pin, HIGH);

  //mode automatique
  if(digitalRead(pin)){
      activeSequence = 1;
      randomSeed(analogRead(A4));
  }
  else{ //mode microphone
  //bout de code volé à l'auteur de la librairie FHT
    Serial.begin(115200); // use the serial port
    TIMSK0 = 0; // turn off timer0 for lower jitter
    ADCSRA = 0xe5; // set the adc to free running mode
    ADMUX = 0x42; // use adc0 //0x42 est le pin A2, 0x40 le pin A0
    DIDR0 = 0x01; // turn off the digital input for adc0
  }
}

void clignote(int temps, int n) {
  for(unsigned int i = 0; i < n; i++){
    allumeA; allumeB; allumeC;
    delay(temps);
    eteintA; eteintB; eteintC;
    delay(temps);
  }
}
void clignoteInverse(int temps,int n) {
  for(unsigned int i = 0; i < n; i++){     allumeA; allumeB; eteintC;     delay(temps);     eteintA; eteintB; allumeC;     delay(temps);   } } void loop() {      if(activeSequence){ 	//le t-shirt est allumé et par moment il clignote au bol     switch(random(1, 4)){       case 1:         clignoteInverse(300,random(10,40));         break;       case 2:         clignoteInverse(30,random(20,40));         break;       case 3:         for(int i = 20; i > 1; i--){
          clignote(5*i,4);
        }
        break;
      default:
        for(int i = 20; i > 1; i--){
          clignote(5*random(3,20),4);
        }
    }
    allumeA; allumeB; allumeC;
    delay(random(10,30)*1000);
    return;
  }

  //bout de code volé à l'auteur de la librairie FHT
  while(1) { // reduces jitter
    cli();  // UDRE interrupt slows this way down on arduino1.0
    for (int i = 0 ; i < FHT_N ; i++) { // save 256 samples
      while(!(ADCSRA & 0x10)); // wait for adc to be ready
      ADCSRA = 0xf5; // restart adc
      byte m = ADCL; // fetch adc data
      byte j = ADCH;
      int k = (j << 8) | m; // form into an int
      k -= 0x0200; // form into a signed int
      k <<= 6; // form into a 16b signed int       fht_input[i] = k; // put real data into bins     }     fht_window(); // window the data for better frequency response     fht_reorder(); // reorder the data before doing the fht     fht_run(); // process the data in the fht     fht_mag_log(); // take the output of the fht     sei();     Serial.write(255); // send a start byte     Serial.write(fht_log_out, FHT_N/2); // send out the data          //ma détection de basse     if(fht_log_out[2] > 175){
      allumeA; allumeB; allumeC;
    }
    //ma détection de mid
    else if(fht_log_out[63] > 110){
      allumeC;
    }
    else{
      eteintA; eteintB; eteintC;
    }
  }
}

